> ## Documentation Index
> Fetch the complete documentation index at: https://ppio.com/docs/llms.txt
> Use this file to discover all available pages before exploring further.
# RuoYi AI 接入 PPIO LLM API
当前AI应用类型多种多样,已广泛应用于金融、医疗、教育等数十个关键领域,呈现出"千业千面"的趋势。
在传统开发流程,想要搭建AI应用,不仅需要支撑高并发请求的微服务架构,还需整合包括知识图谱构建、多轮对话管理、意图识别引擎在内的十余项核心技术模块。
如何才能更加简单、高效地搭建AI应用?
全栈式 AI 开发平台 RuoYi AI 提供了一个开箱即用的开源解决方案,涵盖前端应用、后台管理、小程序应用。并且,该开源系统基于 MIT 协议,自由度高,可灵活修改和分发代码,支持免费商用。帮助开发者省去繁琐的搭建过程,快速搭建AI应用。
在PPIO派欧云高性能API服务支持下,开发者还可以轻松调用deepseek-r1、deepseek-v3、qwen3等多款主流大模型,为AI应用“注入灵魂”。完整配置教程如下,快来解锁超便捷AI开发平台,搭建属于自己的AI应用!
## **PPIO × RuoYi AI 配置教程**
### 项目环境
* jdk 17
* mysql 5.7、8.0
* redis 版本必须 >= 5.X
* maven 3.8+
* nodejs 20+ & pnpm
### 第一步:安装后端
1. 下载项目
* [https://gitee.com/ageerle/ruoyi-ai](https://gitee.com/ageerle/ruoyi-ai)
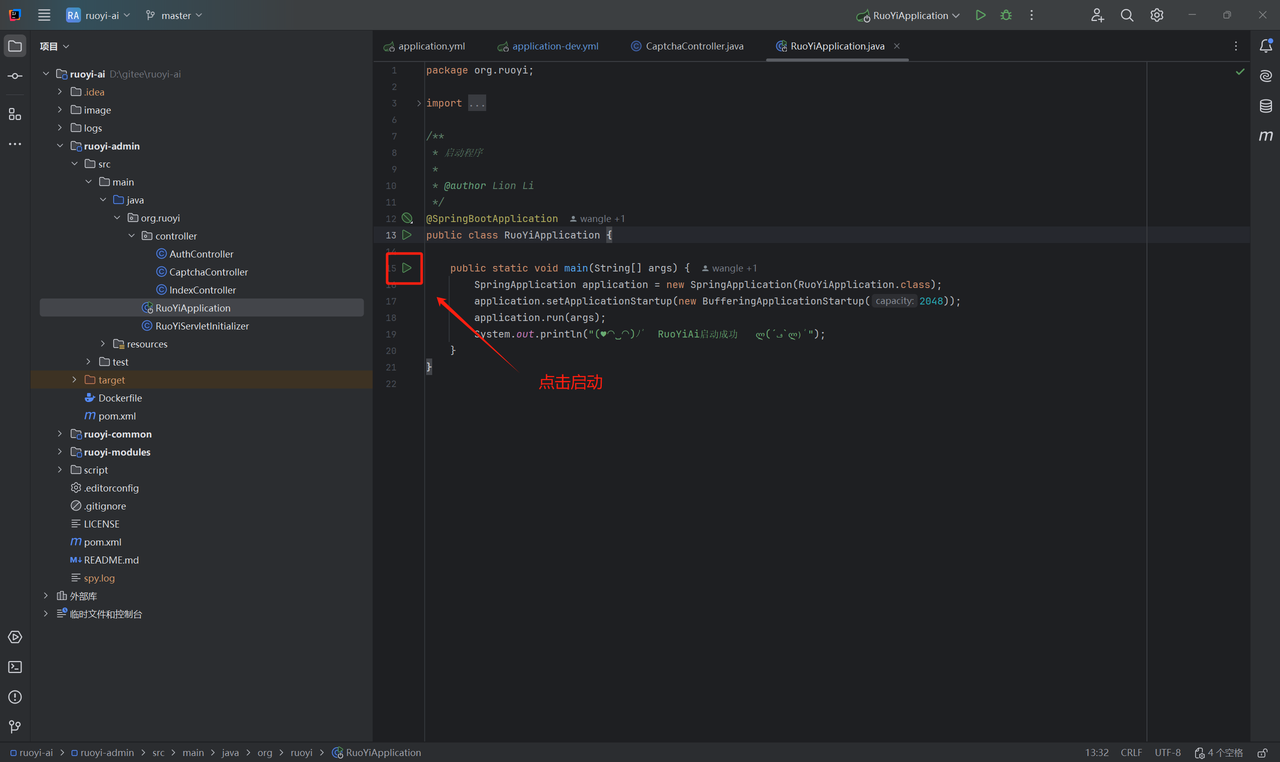
2. idea 导入项目
.PNG?fit=max&auto=format&n=FhPQL2dauyVkuUFM&q=85&s=fc8c03d3798bb1f155dc4968398950e4) 3. 配置maven 文件 - 设置 - 左上角搜索框输入maven - 选择maven安装目录
3. 配置maven 文件 - 设置 - 左上角搜索框输入maven - 选择maven安装目录
 xml配置
```bash theme={null}
D:/dev/apache-maven-3.9.9/repository
aliyunmaven
*
阿里云公共仓库
https://maven.aliyun.com/repository/public
jdk-17
true
17
17
17
17
```
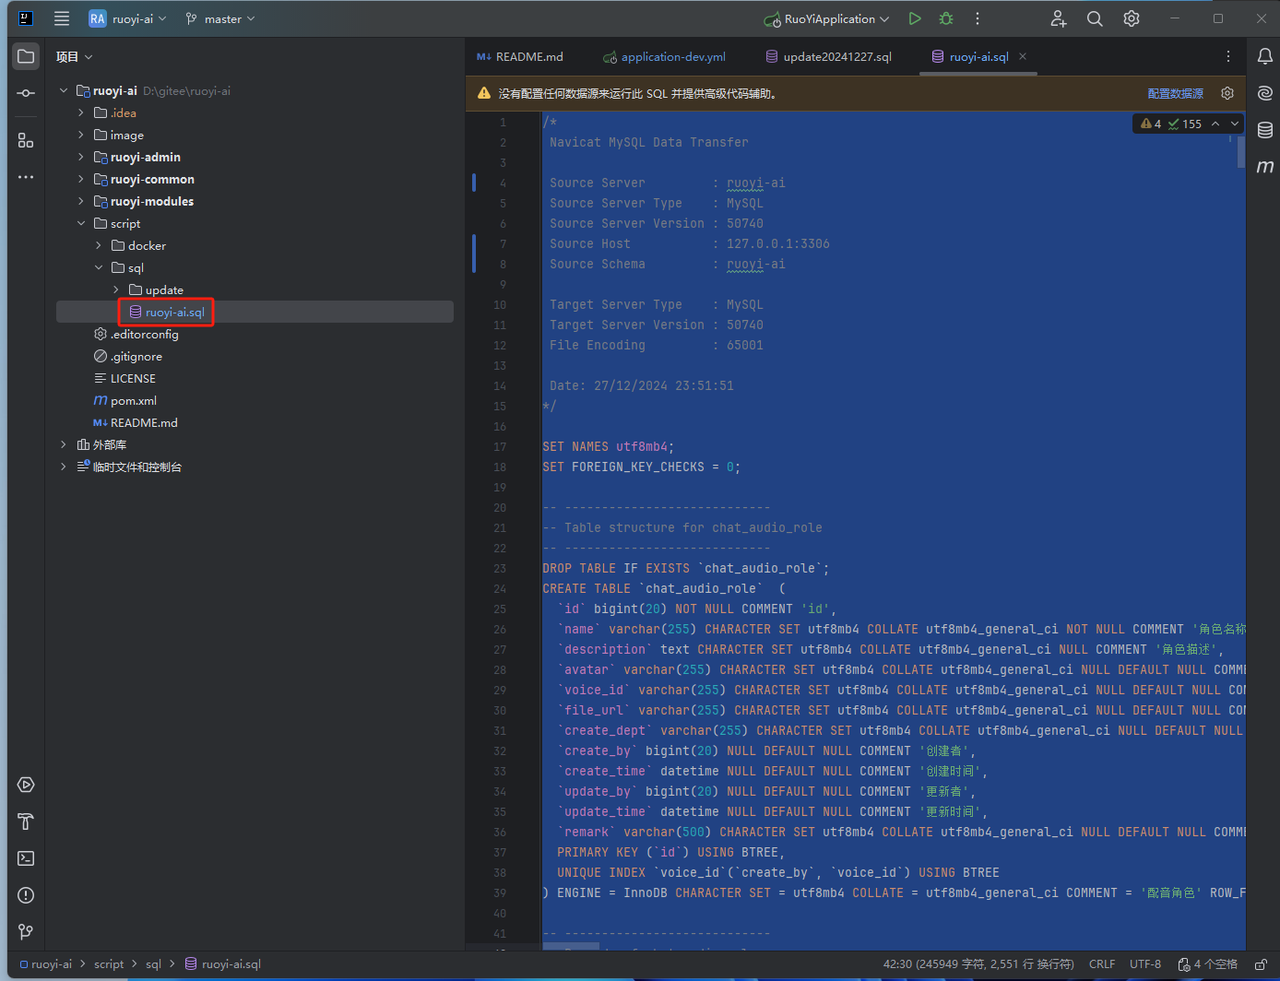
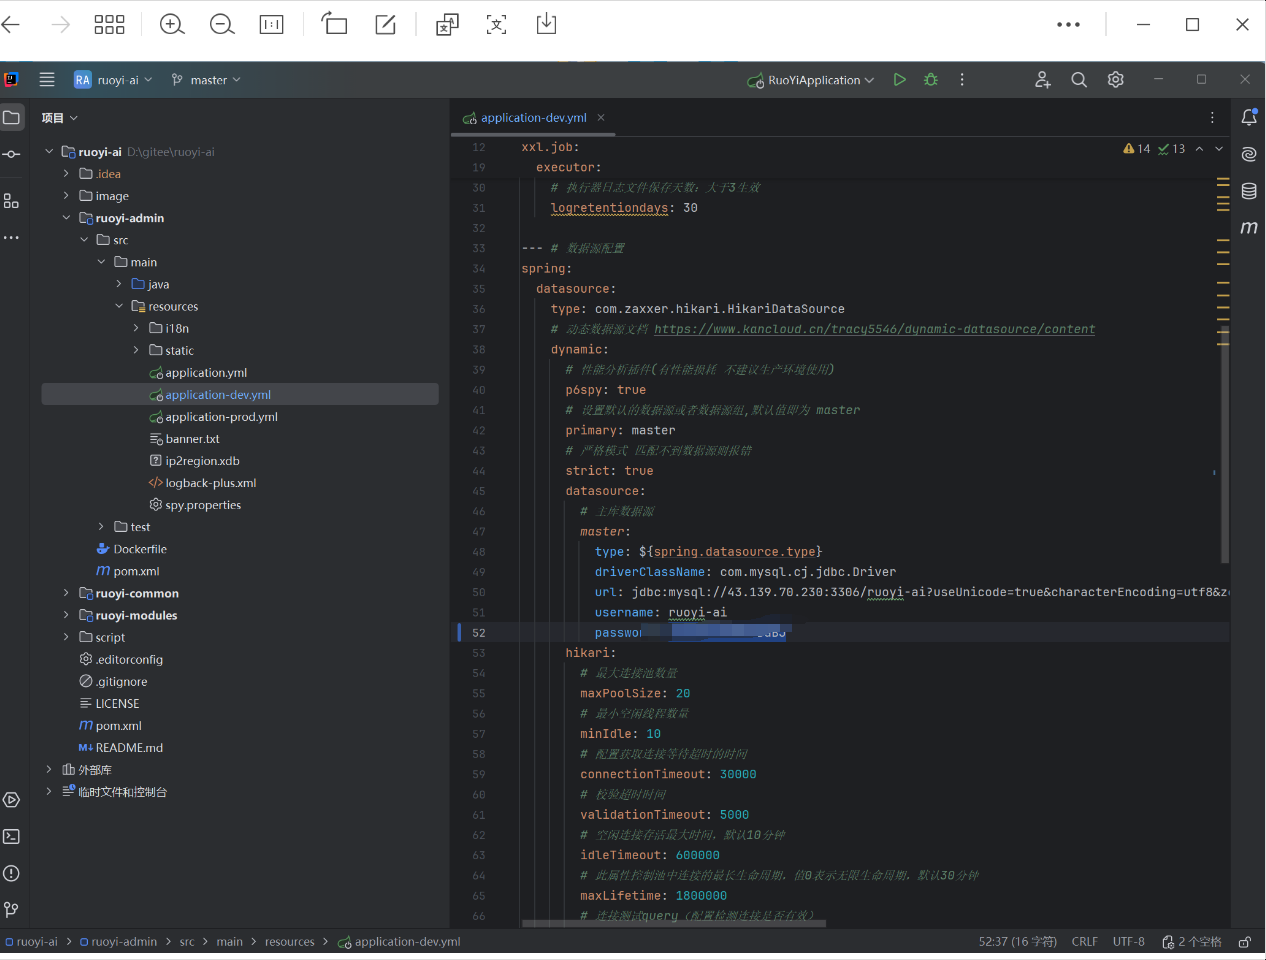
4. 初始化数据库
xml配置
```bash theme={null}
D:/dev/apache-maven-3.9.9/repository
aliyunmaven
*
阿里云公共仓库
https://maven.aliyun.com/repository/public
jdk-17
true
17
17
17
17
```
4. 初始化数据库
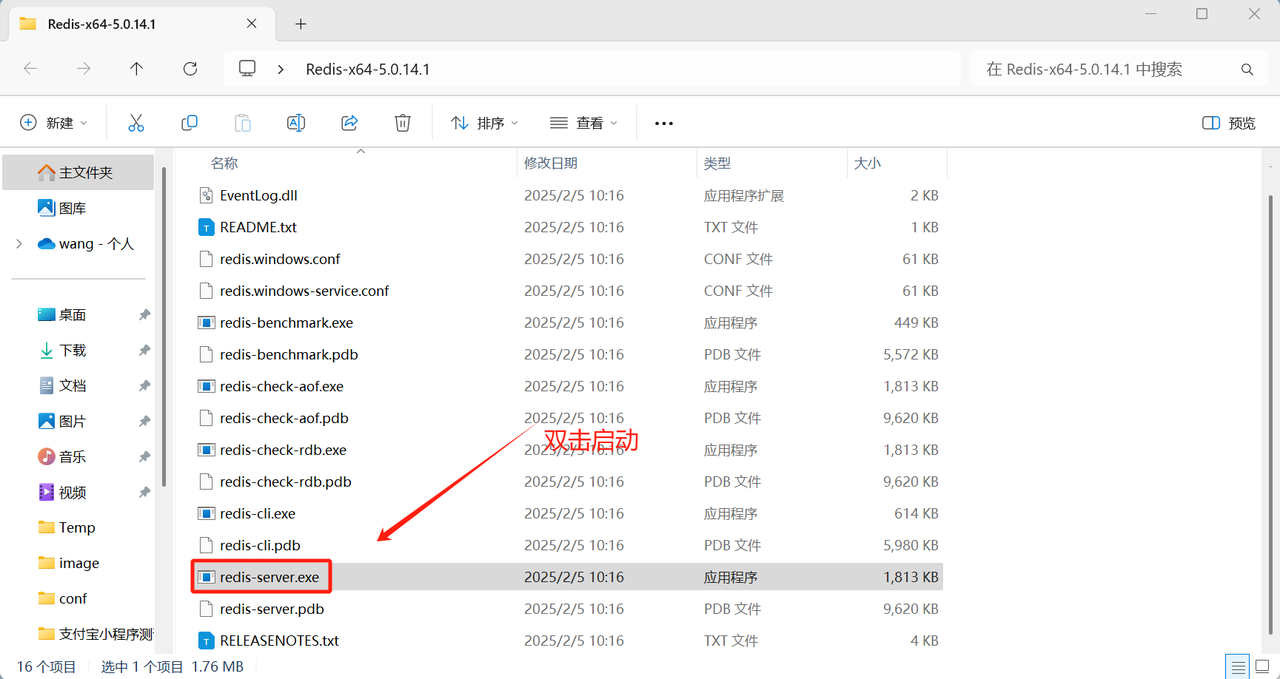
 5. 启动redis
* 下载地址:[https://github.com/tporadowski/redis/releases](https://github.com/tporadowski/redis/releases)
5. 启动redis
* 下载地址:[https://github.com/tporadowski/redis/releases](https://github.com/tporadowski/redis/releases)
 6. 启动项目
 ## 第二步:安装管理端
1. 下载项目
* [https://gitee.com/ageerle/ruoyi-admin](https://gitee.com/ageerle/ruoyi-admin)
2. 安装依赖
```javascript theme={null}
pnpm install
```
3. 运行项目
```javascript theme={null}
pnpm dev
```
4. 打包
```javascript theme={null}
pnpm build
```
5. 修改配置项
* 后台接口:`/apps/web-antd/vite.config.mts`
## 第二步:安装管理端
1. 下载项目
* [https://gitee.com/ageerle/ruoyi-admin](https://gitee.com/ageerle/ruoyi-admin)
2. 安装依赖
```javascript theme={null}
pnpm install
```
3. 运行项目
```javascript theme={null}
pnpm dev
```
4. 打包
```javascript theme={null}
pnpm build
```
5. 修改配置项
* 后台接口:`/apps/web-antd/vite.config.mts`
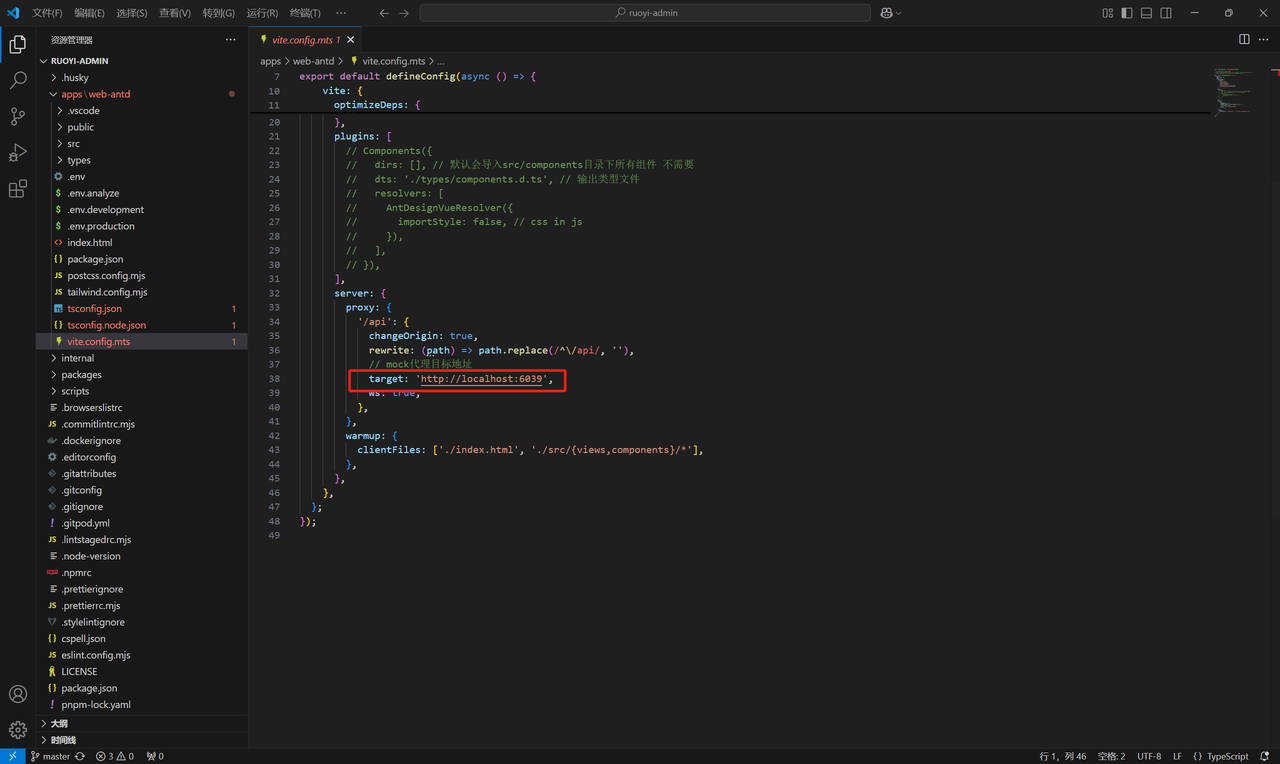 * 其他配置:`/apps/web-antd/.env.development`
## 第三步:安装用户端
1. 下载项目
* [https://gitee.com/ageerle/ruoyi-web](https://gitee.com/ageerle/ruoyi-web)
2. 安装依赖
javascript
```javascript theme={null}
npm install
```
3. 运行项目
javascript
```javascript theme={null}
npm run dev
```
4. 打包
javascript
```javascript theme={null}
npm run build
```
## 第四步:接入AI大模型
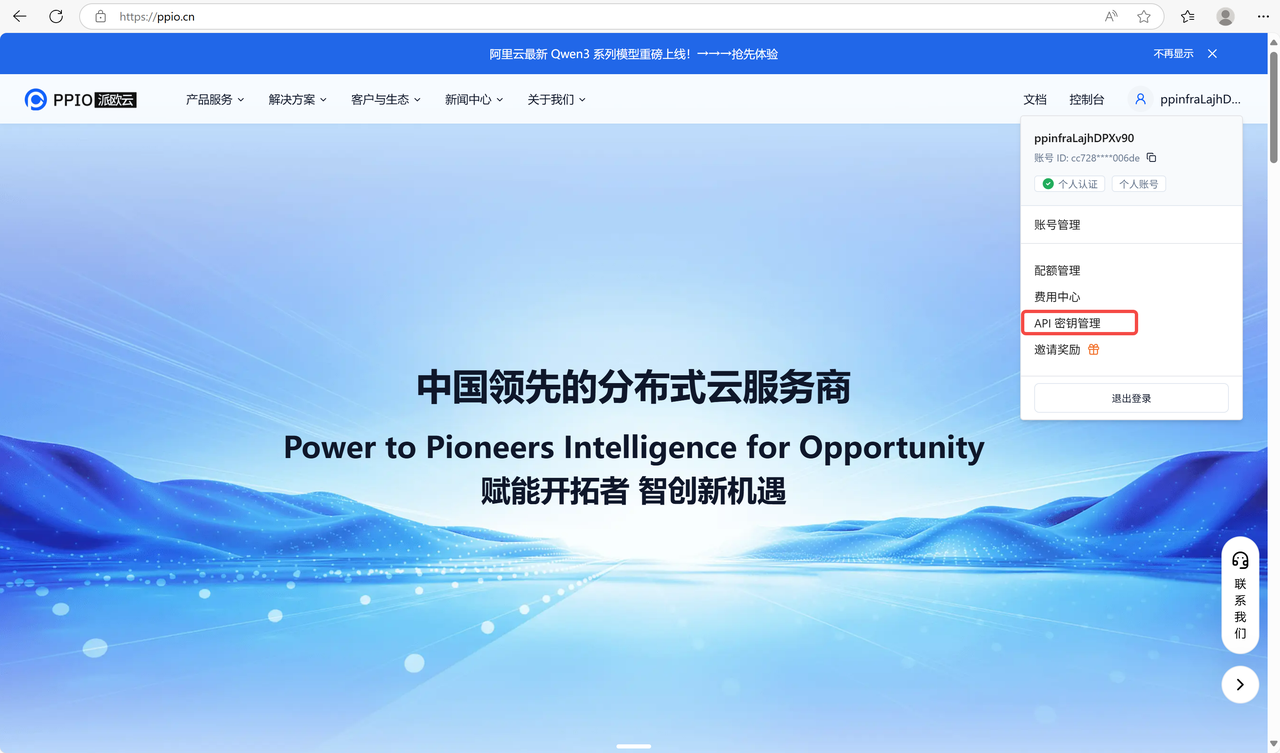
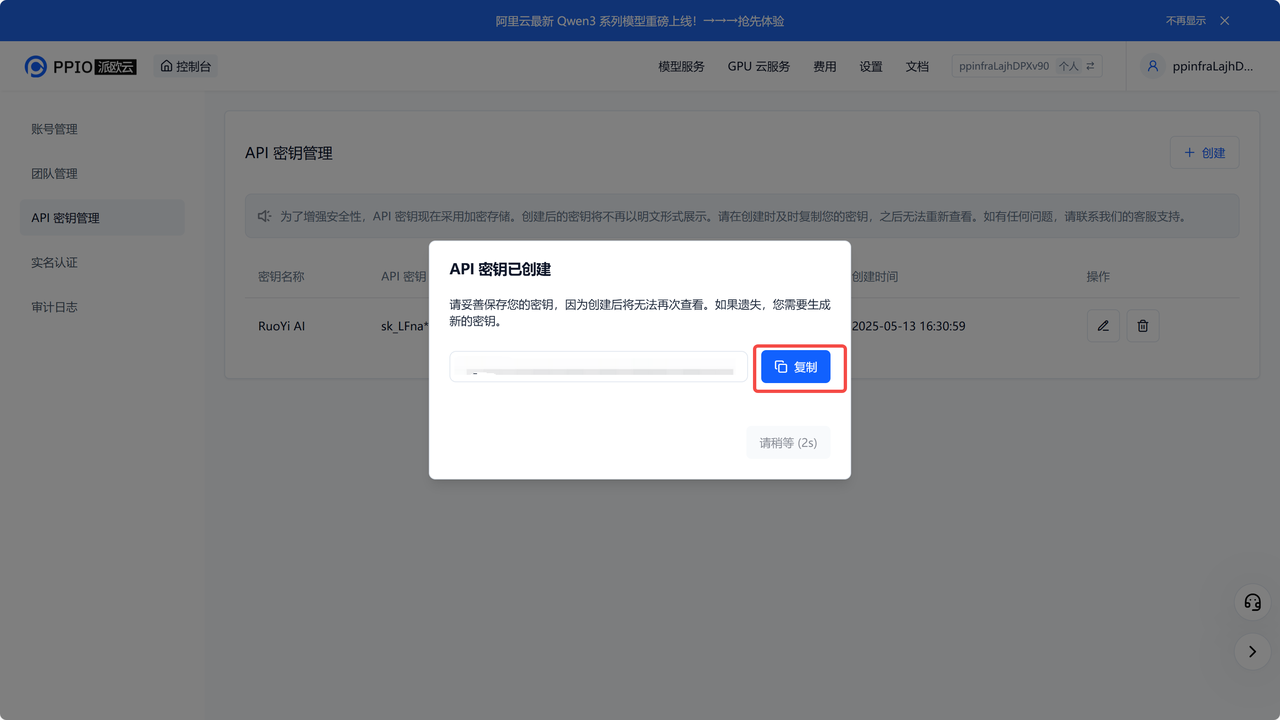
1. 获取 API 密钥
注册登录派欧云,填写邀请码【N7EUVY】得 15元代金券。
打开 API 密钥管理页面,点击创建按钮,输入自定义密钥名称,生成API密钥。
* 其他配置:`/apps/web-antd/.env.development`
## 第三步:安装用户端
1. 下载项目
* [https://gitee.com/ageerle/ruoyi-web](https://gitee.com/ageerle/ruoyi-web)
2. 安装依赖
javascript
```javascript theme={null}
npm install
```
3. 运行项目
javascript
```javascript theme={null}
npm run dev
```
4. 打包
javascript
```javascript theme={null}
npm run build
```
## 第四步:接入AI大模型
1. 获取 API 密钥
注册登录派欧云,填写邀请码【N7EUVY】得 15元代金券。
打开 API 密钥管理页面,点击创建按钮,输入自定义密钥名称,生成API密钥。
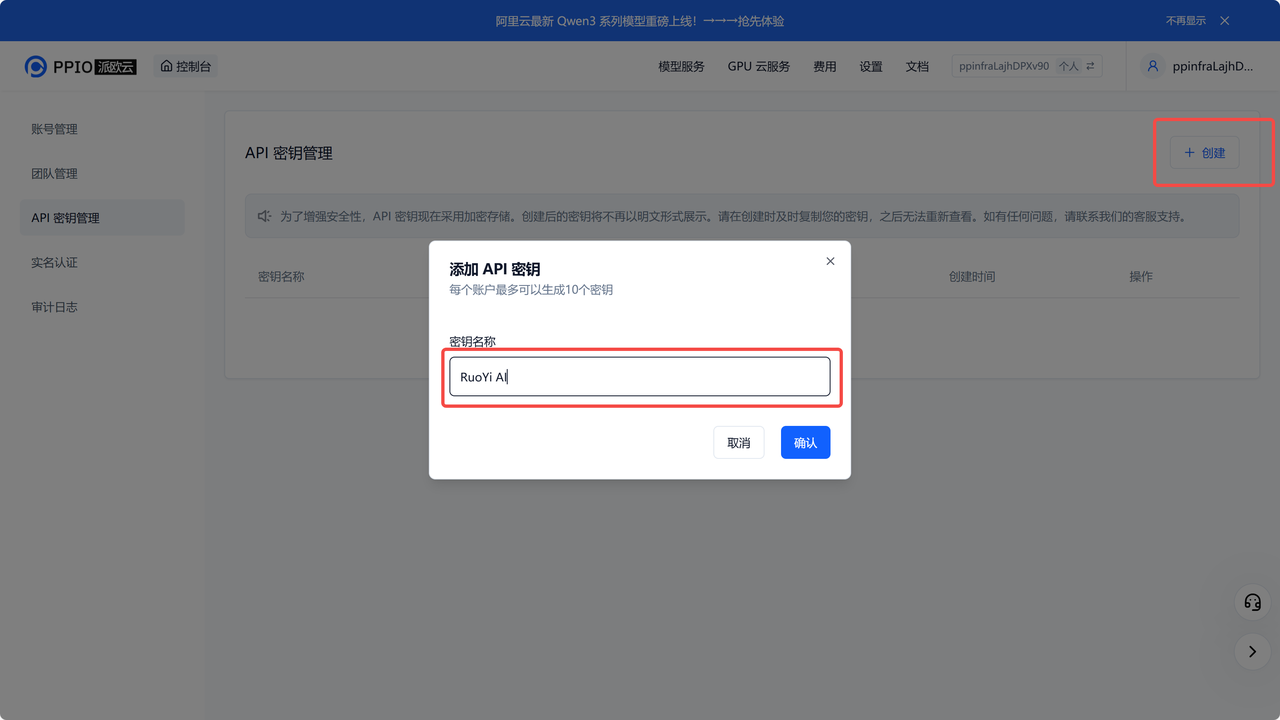 2. **生成并保存 API 密钥**
\*\*!!注意:\*\*秘钥在服务端是加密存储,请在生成时保存好秘钥;若遗失可以在控制台上删除并创建一个新的秘钥。
2. **生成并保存 API 密钥**
\*\*!!注意:\*\*秘钥在服务端是加密存储,请在生成时保存好秘钥;若遗失可以在控制台上删除并创建一个新的秘钥。
 3. **获取 【API Base URL】**
固定为:`https://api.ppio.com/openai`
4. **获取需要使用的模型 ID**
* deepseek/deepseek-r1-turbo
* deepseek/deepseek-v3-turbo
* deepseek/deepseek-v3-0324
* qwen/qwq-32b
其他模型ID、最大上下文及价格可参考:[PPIO派欧云 - AI 云端一体化解决方案: 模型 API、Serverless、GPU 租赁](https://ppio.com/model-api/console)
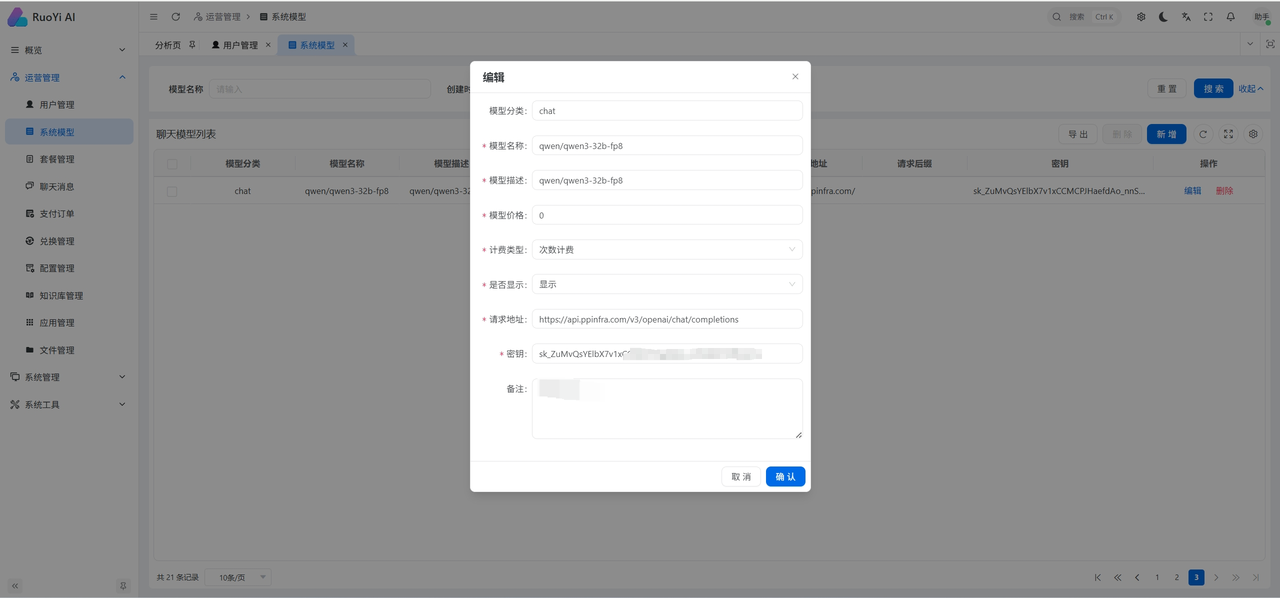
5. **后台模型管理配置**
前往RouYi AI 运营管理-系统模型页面配置模型。
* 模型名称:所需模型名称,如qwen/qwen3-32b-fp8
* 模型描述:所需模型名称,如qwen/qwen3-32b-fp8
* 模型价格:规定模型价格
* 计算类型:次数计费
* 请求地址:`https://api.ppio.com/openai`
* 密钥:派欧云官网所保存密钥
3. **获取 【API Base URL】**
固定为:`https://api.ppio.com/openai`
4. **获取需要使用的模型 ID**
* deepseek/deepseek-r1-turbo
* deepseek/deepseek-v3-turbo
* deepseek/deepseek-v3-0324
* qwen/qwq-32b
其他模型ID、最大上下文及价格可参考:[PPIO派欧云 - AI 云端一体化解决方案: 模型 API、Serverless、GPU 租赁](https://ppio.com/model-api/console)
5. **后台模型管理配置**
前往RouYi AI 运营管理-系统模型页面配置模型。
* 模型名称:所需模型名称,如qwen/qwen3-32b-fp8
* 模型描述:所需模型名称,如qwen/qwen3-32b-fp8
* 模型价格:规定模型价格
* 计算类型:次数计费
* 请求地址:`https://api.ppio.com/openai`
* 密钥:派欧云官网所保存密钥
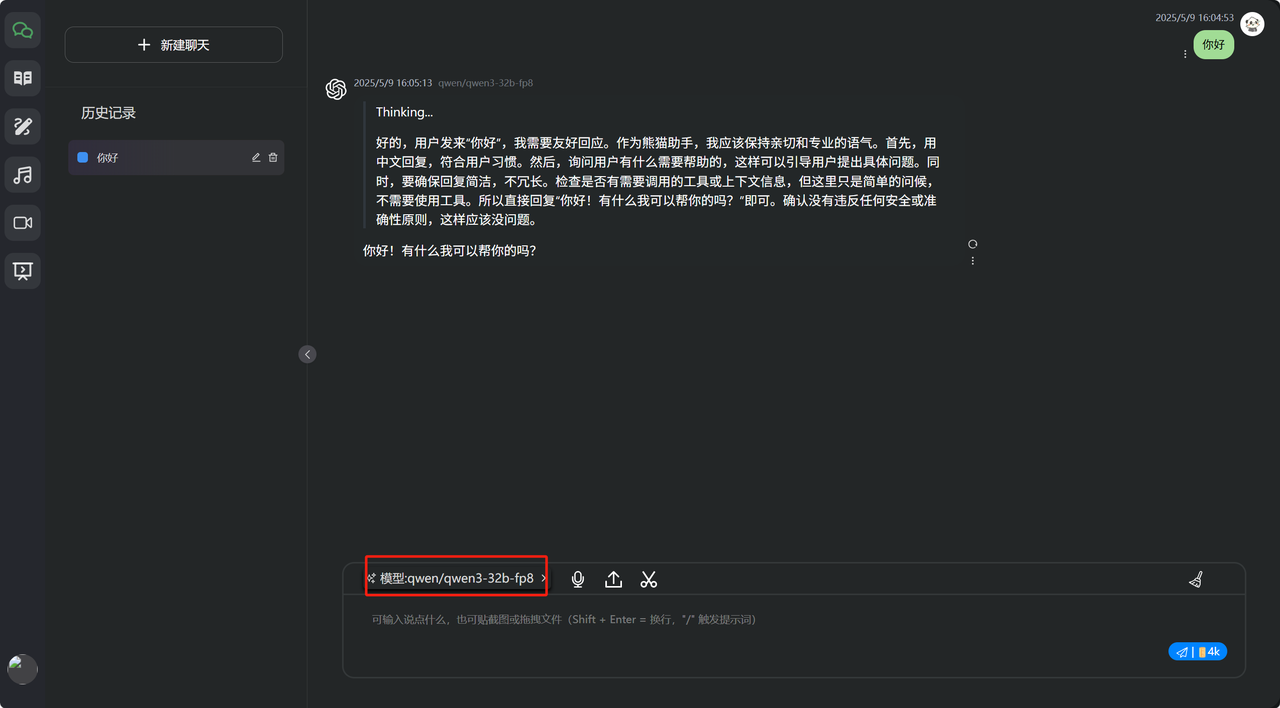
 6. 效果展示